At the moment, many people use VST plugins to generate ESSBs. This is the most modern and cheapest way to get high quality of your Radio.
In what order and what plug-ins should be used in the DAW program.
I will not name specific plugins — there are a great many of them and everyone has their own favorites.
But if you come across this for the first time — use the FabFilter and Waves plugins — they are common on the Internet and provide high-quality processing of audio signals.
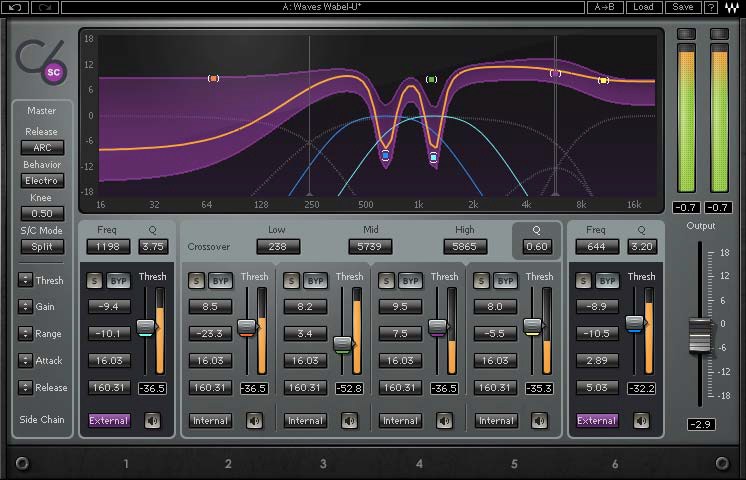
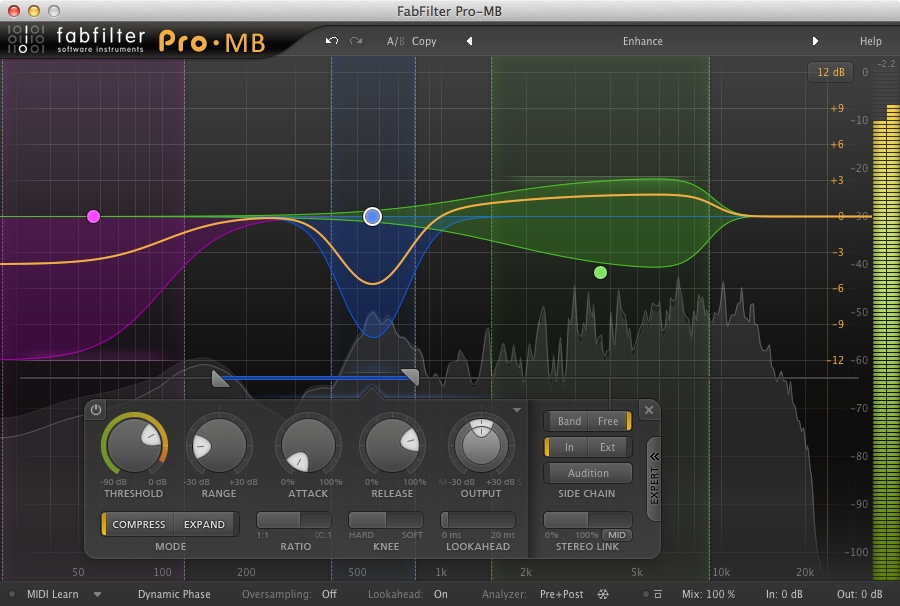
Put in the very last cell of your editor — the VST analyzer. It will be convenient for them to control all changes in the chain in the future. Remember that the final frequency response of the signal must correlate with the frequency response between pink and white noise — this ensures that your signal is sufficiently intelligible on the air, at narrow bandwidth and weak levels.
The 1st plugin in the chain — the equalizer — with this equalizer — it is necessary to cut out, first of all, unnecessary frequencies — room resonances, hum, etc. At this stage, it is very important to be able to hear — these interfering frequencies. It’s not easy, and this is the skill of a sound engineer, and if you start to tune your signal, you are a sound engineer, albeit a very «narrow» one.
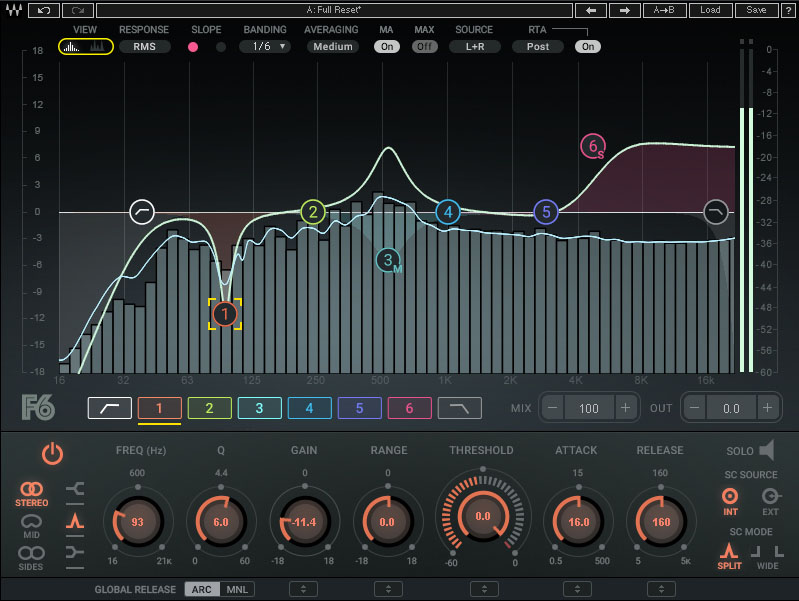
You can also emphasize or cut the necessary frequencies with this equalizer — for example, frequencies of 119 Hz, 160 Hz, 250 Hz, you need to cut or underestimate,
and the frequencies are 1.3 kHz, 2 kHz, raise, as well as the frequency of your first harmonic. It is important not to overdo it, so as not to spoil the sound — if you raise more than 6 Db strongly — then the sound becomes «telephone» or «mumbling». Measure is needed everywhere. No more than 6 Db.
The 2nd plugin in the chain is the multiband compressor. With this plug-in, we form the corresponding energy of the signal as well as the frequency response.

Try to squeeze the high frequency region (from 2 kHz and above) hard enough with a clipping level of up to 6 dB. With such a limitation — according to the analyzer, you will notice how high frequencies sank — by adjusting the level of this band, adjust the level so that the total frequency response continues to correlate with the section between pink and white noise.
Do the same with the mids and lows. Here it is not possible to give specific recommendations on the compression ratio, clipping level and output level of a particular frequency range — it depends on the original signal and the desired output signal.
Why compression is needed at all and why it is multiband. Compression generally increases the S / N ratio on the air — that is, it gives an energy gain. But due to the uneven frequency response of the use of a conventional broadband compressor, it leads to the fact that the compressor starts to operate on a section of the frequency response that has a higher level — this is usually the lower frequency region (according to the nature of the distribution of energy in the sound of the voice). But by acting on this frequency range, the compressor attenuates the entire frequency band, including those frequencies that are responsible for intelligibility. This is not critical for signals with a cut off frequency of the fundamental tone (the first harmonic or the first format), because in this case the section with the largest energy is cut off. In the case of ESSB, the broadband compressor can be painlessly used only with an already formed signal — that is, closer to the end of the chain. We are still only at the beginning and, in fact, with the help of, among other things, a multiband compressor, we are only forming the frequency response. Don’t forget about frequency response control.
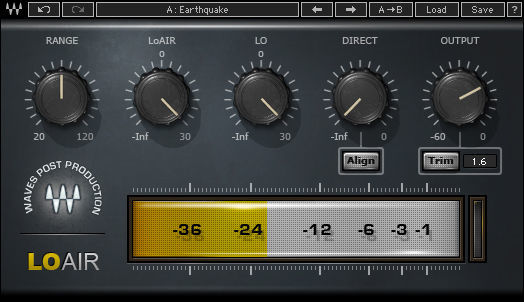
3rd plugin. Deep bass plugin — it can be LoAir or Rbass — these plugins are designed to work with the low frequency region and make that mighty bass in your signal.
4th plugin. Again we use a multiband compressor — the goal is the same additional compression and additional energy gain, as well as control and keeping the frequency response in check after applying the deep low frequency plug-in.

Here it is worth noting — in multiband compressors there is a steepness of crossover filters — the steeper the filters — the more the signal begins to «crunch» and acquires a kind of «discreteness». Using the ratios of the first and second multiband compressor can be used as an interesting artistic technique.
5. You need to send the signal to the parallel processing bus where you can place the reverb. It’s a matter of taste how much to add reverb. I add very little, it should not be audible, there should not be long «tails». The reverberation should be felt but not clearly audible. But these are my preferences, I do not impose them.
Plugin 6 — maximizer — at the output in front of the analyzer — it is useful to use a maximizer that will raise the signal level and further tighten the DD by raising the RMS (rms level) of the signal.
This is generally a general scheme and is not a dogma. You can experiment as you like, but this circuit is the most optimal. Where in this chain can you experiment? After the second multi-band compressor, you can add another EQ and play with the frequency response, or use another multi-band dynamics or frequency processing device — and today there is a great variety.
The most important thing to remember is that the final frequency response of your signal should correlate with the frequency response section between pink and white noise.
This screenshot shows the first harmonic (It is signed with the word TON). It is very important to raise this harmonic on the EQ.
In order to find your first harmonic of your voice, you need to run a VST analyzer in your DAW program, and play the letter A with your voice.
Also pay attention! This screenshot clearly shows a 3 db drop in the overtones of your tone. On the 5db screen, the fall is not true, it should be 3 db. The tone is the first harmonic. You must ensure that your spectrum drops smoothly.
The higher the quality of your signal, the farther it can be heard, and even in interference you can be heard. Good signal quality is a x2 to x5 multiplier of your amplifier.
Additional links to this article
https://nssound.ru/o-zvuke-i-zvukovykh-signalakh/shumy-i-ih-primenenie/

